|
10 Watt FLASHING L.E.D.s
|
|
|
My interest in ultra-bright leds began when I built my first quadcopter, probably more than a decade ago, and needed to see the orientation of the quad at a distance. I had previously used the small 3W leds but these proved ineffective in bright sunshine. I later moved on to an array of 3 white leds... then I discovered the 10w versions shown here. These needed a full 12v to operate for maximum brightness but this was unavailable with a simple 3S LiPo. |
|
|
|
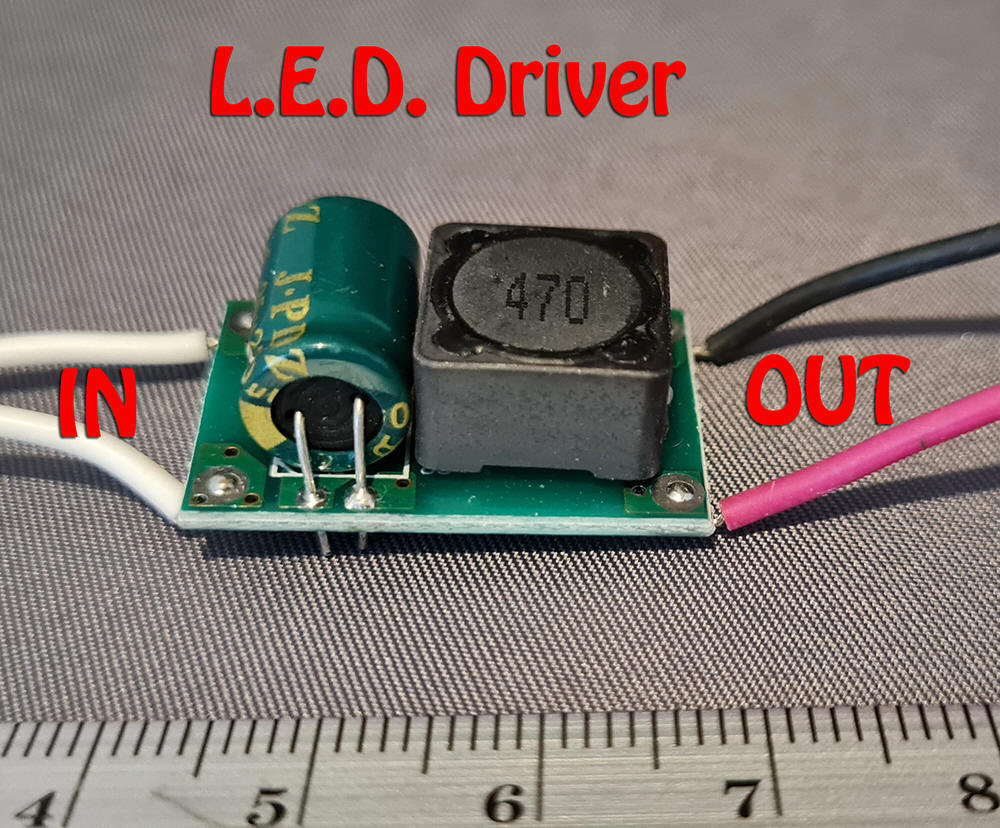
What was needed was a proper led driver delivering a continuous current of up to 1amp that could operate from a battery with a higher voltage, in this case a 4S LiPo with a nominal voltage of over 16v. They are available, of course. A few amp and voltage meter measurements showed that one could actually achieve the full 10w and I imagine the actual specification lumen output. |
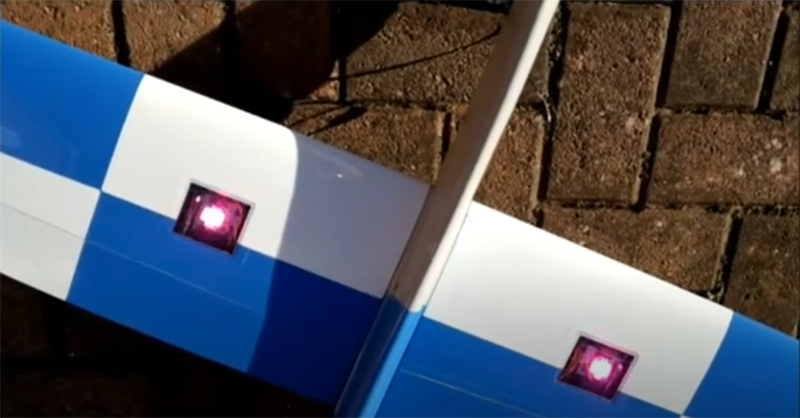
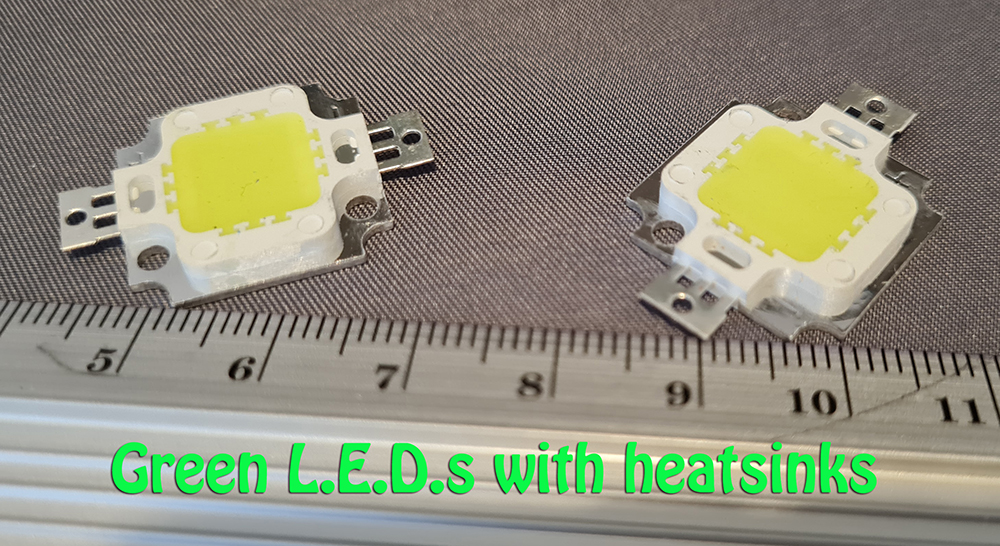
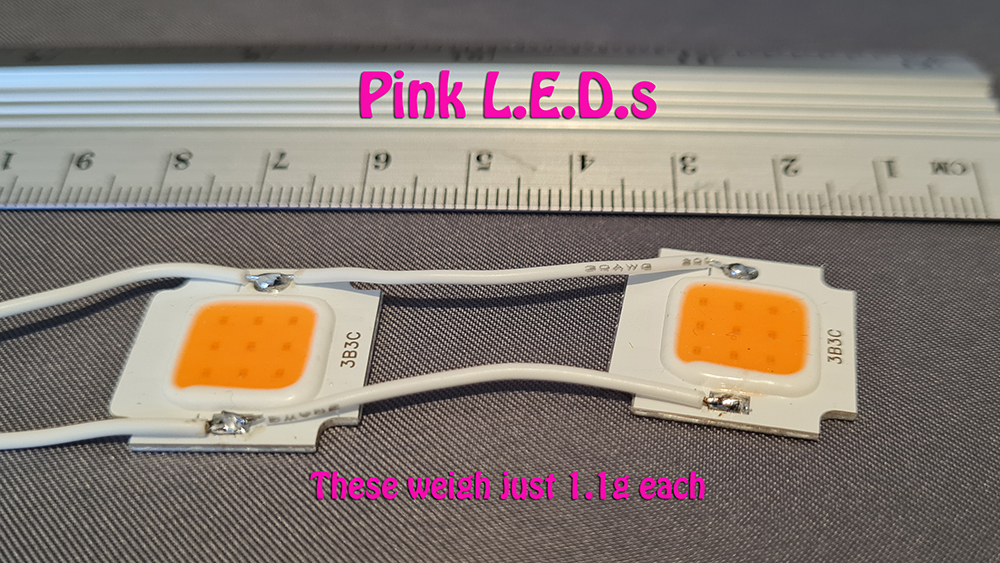
| Now, not all leds are equal. Some are brighter than others. They are available in red, green, yellow/orange, blue, whites and shown here, pink ones. To my mind these are by far the brightest output with a light output of as much as 1000 lumens. This is very bright and I strongly advise when experimenting with any of these coloured 10W leds not to look at them at all... they are so bright! The pink leds in fact are known as Full Spectrum 400-840nm leds and are a combination of both red and blue leds together which gives them their distinctive pink colour. They are used to grow plants. You can see from this image above that the actual leds are a matrix of 9 individual leds in a 3 x 3 array connected together under the silicone covering by minute gold wires.
|
|
 |
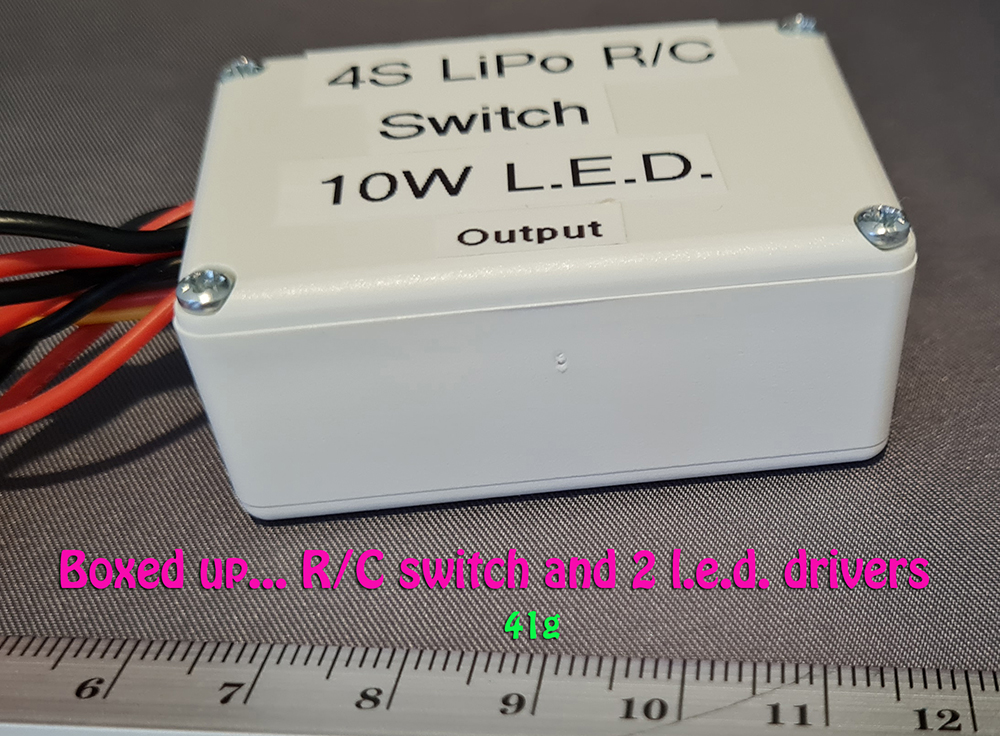
Continuous running of these leds is not recommended unless a large heatsink is used as they get extremely hot and you will burn your finger if you touch the metal part, they may burn out if over run. Typically they draw in the region of 900mA at 9-12v.This gives us the 10 watts. Since a regular servo output can't cope with this you will need an R/C switch, I used the one from Turnigy which will switch 10A at up to 30v. To pulse the led, to make it flash, and save battery life and excess heat. There is no polarity in the output, likewise the led driver above. Always observe the led polarity of course.
|
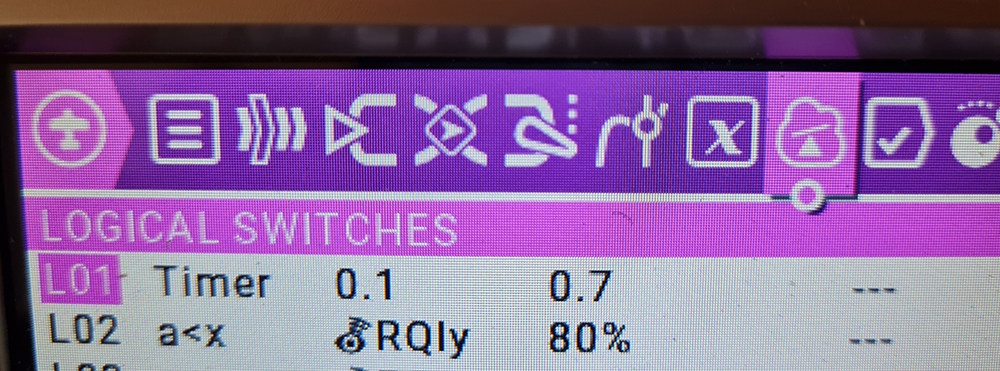
I use the OpenTx Logical switch facility on my transmitter which controls the rate and duration of the flash. The R/C switch connects to any spare channel on your receiver and can be controlled with one of the R/C Transmitter's switches.
|
|
|
|
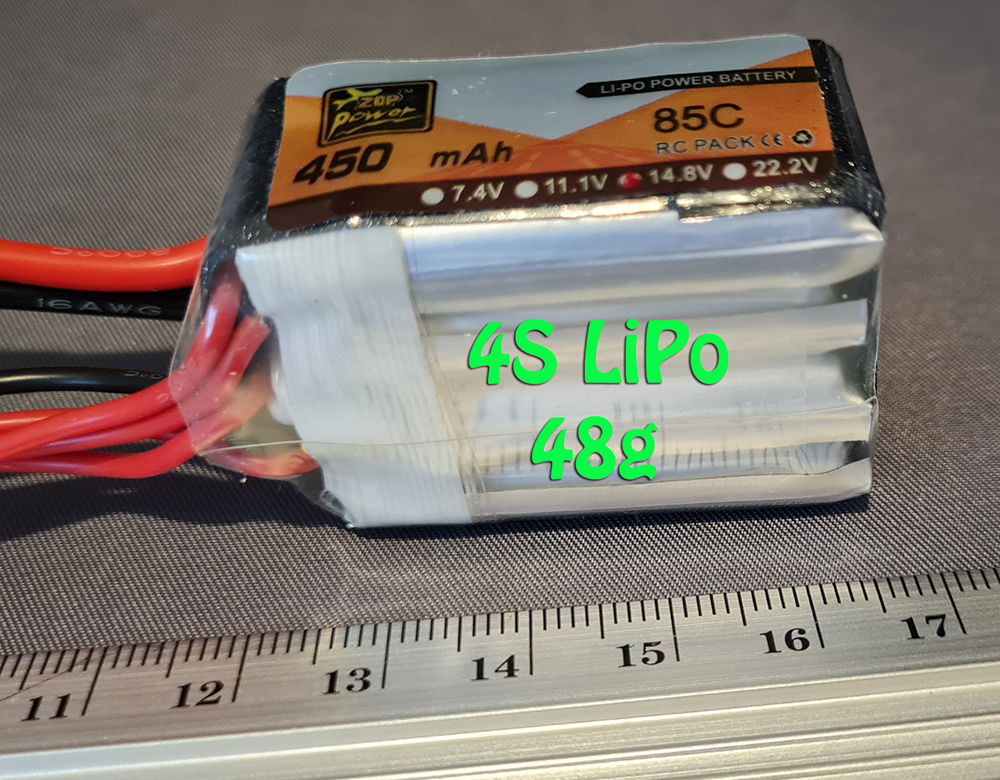
Power supply: Well all of this electronics weighs a few grams so there is a penalty to pay but how many times have you added noseweight to a new model to get it to balance when you could just add another battery in this case. If it's less than 100gm then the chances are that this small and 48g 4S LiPo and associated PC 41g boards can soak up the extra load of noseweight, so to speak. The one I have made here will drive 4 x 10w leds so that is either four in the wings or two in the wings and two in the fuselage with each driver driving 2 leds in parallel. I've done it before using the metal wing servo cases as heatsinks for the leds. It doesn't need to be in an ABS box of course, heatshrink wrap would do.
|
|
A couple of things: These leds are available from AliExpress, Banggood and eBay but I must say that the quality can be very variable. I actually bought a pair from China that simply didn't work!!! Others I bought were good and bad from the same batch, seemingly, so beware. And just one other thing the negatives of both the receiver battery and l.e.d driver battery MUST be connected together or the Turnigy R/C switch will not work. Click on these two images below to see videos of the flashing leds, they can be seen in daylight at quite a distance . |
|
 |
 |
Graham Woods 21/9/2023